

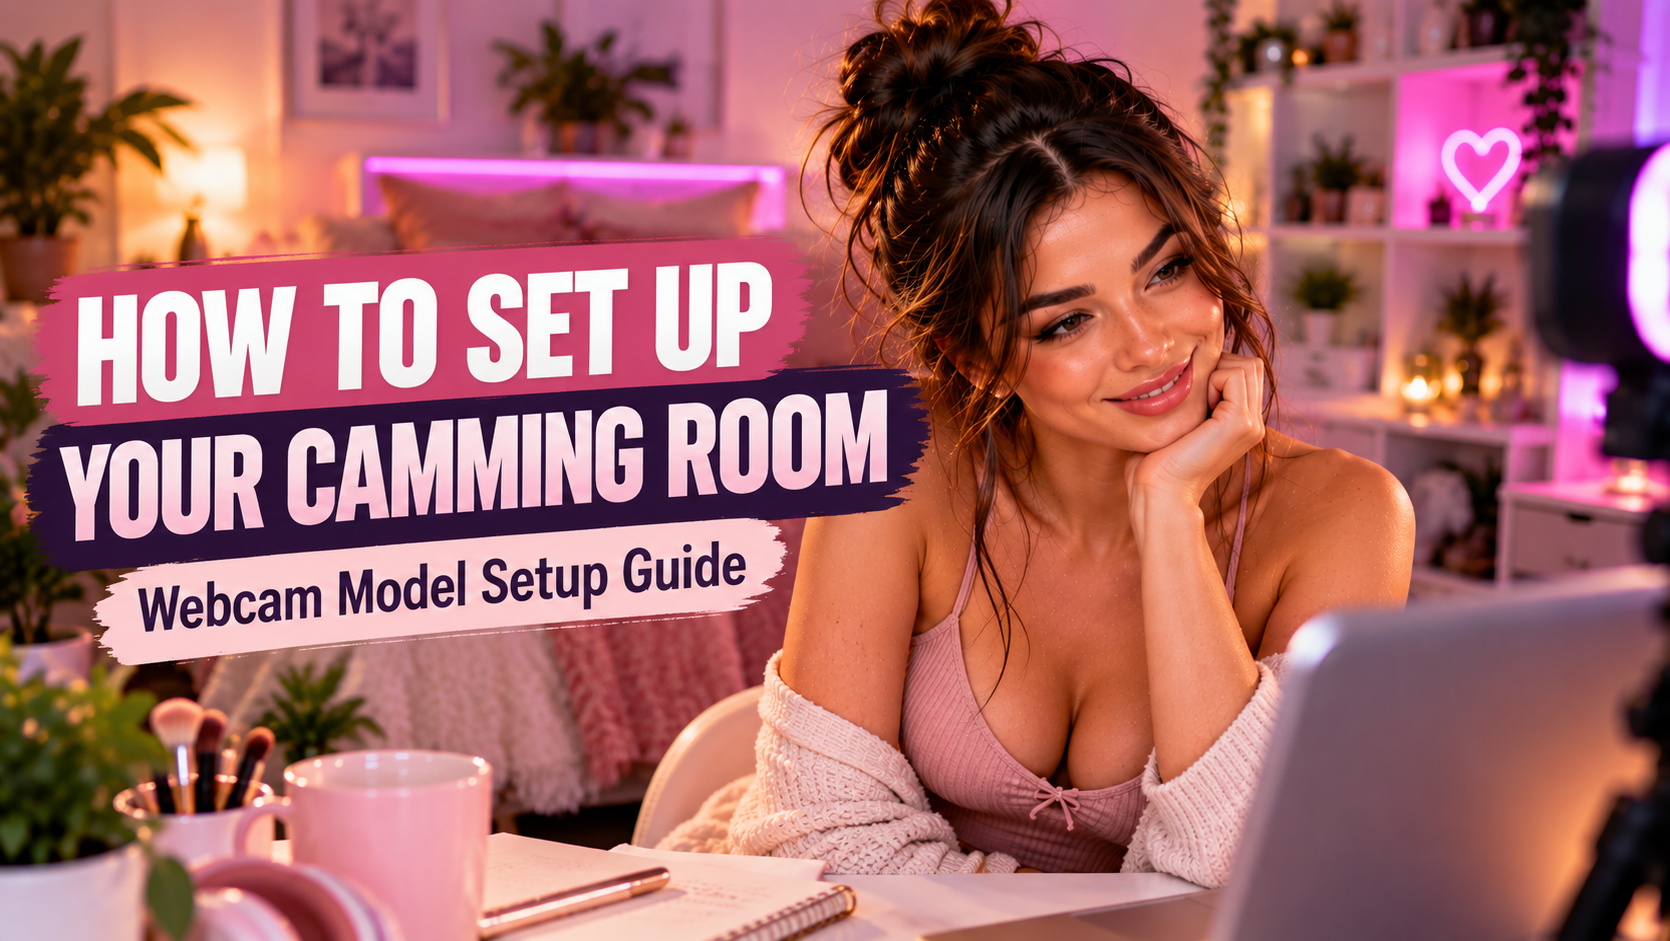
Your cam room doesn’t need to look like a professional studio, and you definitely don’t need to spend thousands of dollars before your first stream. What it does need is good lighting, a clean background, reliable equipment and enough space for you to work comfortably.
The best camming setups usually aren’t the most expensive ones. They’re the ones where everything has a purpose and you don’t have to fight with your camera, move lamps around or search for something in the middle of a show.
Whether you’re working from a bedroom, home office or one corner of an apartment, here’s how to build a camming space that looks good on camera and actually works.
Start With Comfort, Not Decoration
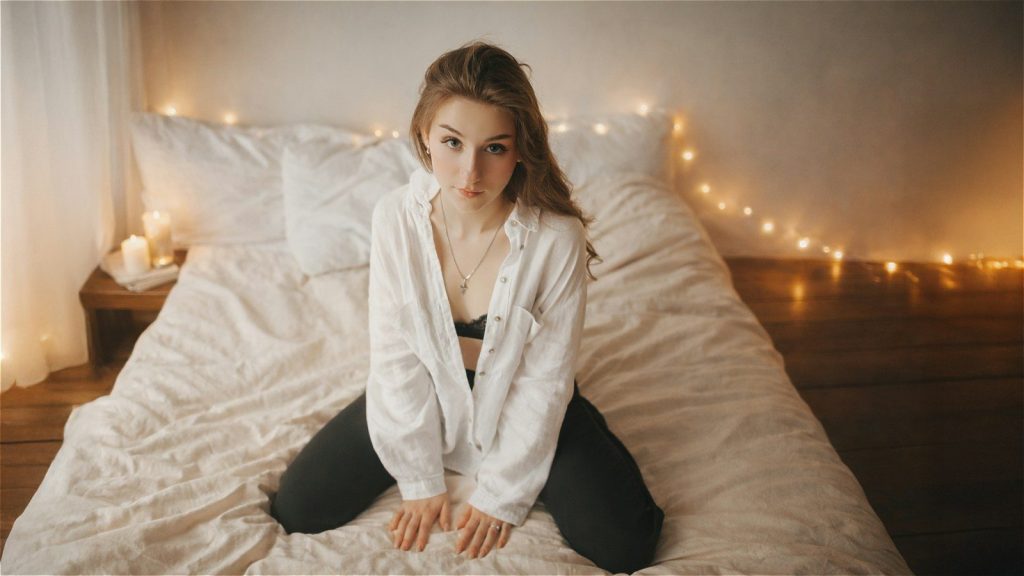
Before buying lights, neon signs or another decorative pillow, decide where you’re actually going to stream.
You’ll probably spend hours in this space, so comfort matters more than people sometimes realize. If you’re uncomfortable after 30 minutes, constantly adjusting your chair or struggling to move around, that eventually shows on camera.
A bed can work well, but it isn’t automatically the best cam setup. A desk and chair can be better for conversational streams, gaming or longer sessions. A couch gives you more room to change positions, while a dedicated corner can work perfectly well if you frame the camera correctly.
Choose your streaming style first and build the room around it.
You should have enough space to move naturally without bumping into your desk, lights or camera. Sit or stand where you’ll normally perform, stretch your arms out and check what’s around you. It’s much easier to move a lamp before the stream than knock it over during one.
Decide What the Camera Can Actually See
You don’t need to decorate the entire room.
You need to decorate the frame.
Set your webcam where you expect it to stay, open the camera preview and look carefully at what’s visible. Anything outside that frame doesn’t matter from a visual perspective.
This can save you both money and effort. A relatively ordinary bedroom can look like a dedicated creator studio if the section visible on camera is thoughtfully arranged.
It also means you don’t need a huge room. Even a small space can work when the camera angle, lighting and background are planned together.
Before settling on an angle, test several positions. Check how the frame looks while you’re sitting, standing and moving around rather than judging it from one perfectly posed screenshot.
Keep Your Background Clean Without Making It Boring
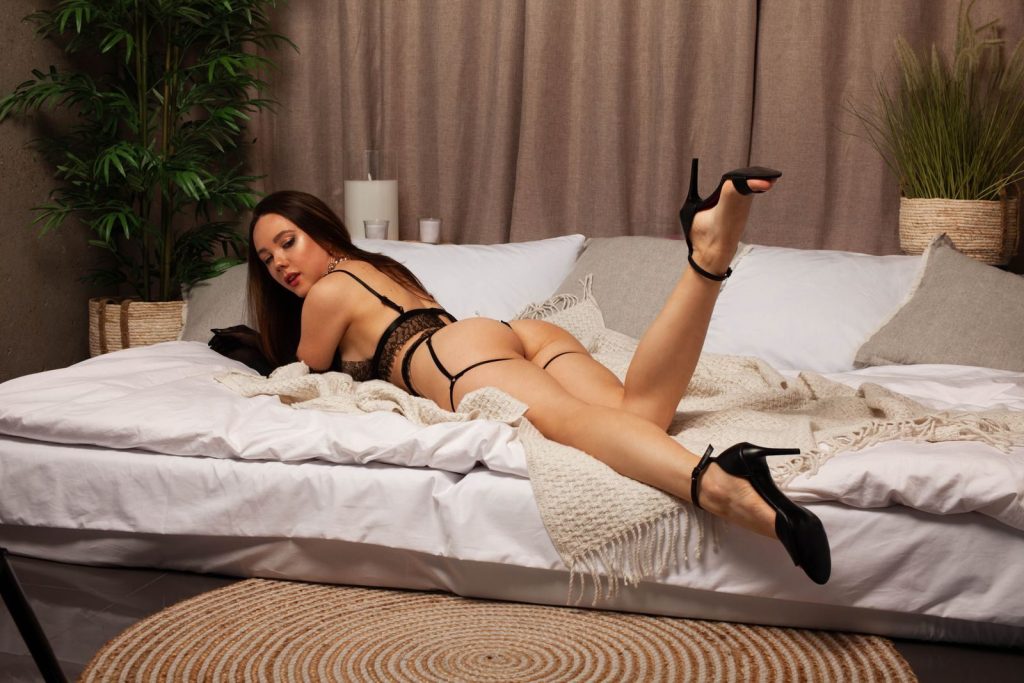
Clutter is one of the fastest ways to make an otherwise good stream look amateur.
Laundry on a chair, random boxes, tangled cables and yesterday’s coffee cup all compete for attention. You don’t need an empty white room, but everything visible in the frame should look like it belongs there.
Start by removing unnecessary objects. Then add back a few things intentionally.
Plants, pillows, framed artwork, shelves, warm lamps or a simple neon light can give the room personality without overwhelming the image. A plain wall can work too, particularly if your lighting creates enough separation between you and the background.
The goal isn’t to create the most impressive bedroom on the internet. It’s to create a frame that looks intentional.
Build the Room Around Your On-Camera Persona
Your background can reinforce the atmosphere of your shows.
A soft, cozy setup might use warm lamps, neutral bedding and plants. A more glamorous room might use cleaner lines, mirrors and accent lighting. A playful setup could include brighter colors, LED lights and changing decorations.
You don’t need to build an elaborate themed set unless that’s genuinely part of your content.
In fact, overly complicated backgrounds often create more problems than they solve. They take longer to maintain and can distract viewers from you.
Think of the background as supporting your presentation rather than becoming the presentation.
Protect Your Privacy Before You Go Live
This should be part of room setup, not something you think about after your first stream.
Look at everything visible behind you.
Photos, certificates, mail, shipping labels, medication bottles, school or workplace items, reflections and even the view through a window can reveal more information than you intended.
Mirrors deserve particular attention because they can show parts of the room that aren’t directly inside your camera frame.
Windows can reveal recognizable buildings, streets or landmarks. If that’s a possibility, use curtains or position the camera differently.
Also check your computer before screen sharing. Personal notifications, bookmarks, usernames and browser tabs can reveal information just as easily as something sitting behind you.
We’ve covered these risks in more detail in our guide to privacy mistakes webcam models should avoid.
Lighting Will Change Your Video More Than Most Decorations
You can have an expensive webcam and still produce an ugly image if your lighting is bad.
Conversely, a reasonably good webcam can look considerably better with proper lighting.
The biggest mistake is relying entirely on an overhead ceiling light. Light coming directly from above tends to create harsh shadows under your eyes, nose and chin.
Instead, place your main light somewhere in front of you and slightly to one side. A second, softer light from the opposite side can reduce shadows. If you have another light available, use it behind you or on the background to create separation and depth.
You don’t necessarily need three professional studio lights.
One good soft light placed correctly can be better than five cheap lights pointing everywhere.
Our lighting guide for webcam models goes deeper into key lights, fill lights, backlights and positioning.
Don’t Mix Every Color in the Rainbow
RGB lights make it very easy to turn a bedroom into something resembling a gaming convention.
A little colored light can look great. Five competing colors usually don’t.
Choose one or two accent colors and let your main light remain relatively neutral so your skin tone still looks natural.
For example, you might use a warm main light on yourself with pink or purple light on the background. This creates atmosphere without making your face purple too.
Whatever combination you choose, check it through the webcam rather than trusting what your eyes see in the room.
Cameras interpret light differently.
Natural Light Is Great Until It Isn’t
A window can provide beautiful soft light during the day.
The problem is consistency.
Clouds move. The sun changes position. Daylight disappears. If you stream for several hours, the image may look completely different by the end of your session.
Natural light works particularly well for daytime streams, but having an artificial light available gives you more control.
If you’re using a window as your main source, face toward it or position yourself at a slight angle. Sitting with a bright window directly behind you can make the camera expose for the background and leave your face too dark.
And remember the privacy issue. A beautiful city view isn’t necessarily something you want your audience identifying.
Position Your Webcam Before You Design the Rest of the Room
Your camera determines what viewers see, so its position should influence everything else.
For most conversational streams, placing the camera around eye level creates a natural perspective. Slightly above eye level can also work well.
Extreme low angles tend to make a room look awkward and may reveal things you didn’t intend to have in frame.
Once you’ve found a useful camera position, try not to rebuild it from scratch before every stream.
A small tripod, monitor mount or webcam arm can help you maintain a consistent angle.
If you’re still choosing equipment, our guide to whether you need an HD webcam for camming explains what specifications actually matter.
Audio Is Part of Your Room Setup Too
People focus so heavily on video quality that they sometimes forget viewers also have to listen to the room.
Fans, air conditioners, traffic, computer fans and echoes from empty walls can all affect your stream.
Do a short test recording and listen with headphones.
Can you hear your voice clearly? Is there constant background noise? Does the room sound hollow?
Soft furnishings such as curtains, rugs, bedding and upholstered furniture naturally reduce some echo. You don’t need to cover the walls in acoustic foam unless your room genuinely requires it.
Microphone position also matters. Moving a microphone closer to you can sometimes improve the sound more than buying a much more expensive model.
If audio is your weak point, see our guide to choosing a microphone for camming.
Keep the Things You Use Within Reach
A good cam room should make your job easier.
Think about what you regularly need during a stream and create a dedicated place for it.
That might include water, charging cables, a towel, tissues, cleaning supplies, spare clothing, cosmetics, remotes, headphones or other equipment you regularly use.
Drawers, baskets and storage boxes work well because they keep everything nearby without filling the background with clutter.
The point is simple: you shouldn’t need to disappear from the camera for five minutes every time you need something.
Before starting a show, do a quick check.
Water? Good.
Phone on silent? Good.
Equipment charged? Good.
Everything you expect to use nearby? Good.
Those two minutes of preparation can prevent a lot of interruptions.
Think About Cable Management
This isn’t exciting, but it’s worth doing.
Your camming setup may eventually include a computer, webcam, microphone, lights, chargers, interactive devices and other USB equipment.
That quickly becomes cable spaghetti.
Use cable ties, clips or sleeves to keep wires organized and away from areas where you walk. Don’t overload a single cheap extension cord with every device in the room.
Cable management also makes the setup look cleaner if the floor or desk appears in your frame.
More importantly, it reduces the chance of pulling your webcam onto the floor because your foot caught a USB cable.
Your Internet Connection Is Part of the Room
A beautiful cam room is useless if your stream freezes every 30 seconds.
Whenever practical, connect your computer to your router using Ethernet rather than relying entirely on Wi-Fi. A wired connection is generally more consistent, especially if other people or devices are using the same wireless network.
Test your connection from the actual room where you’ll be streaming.
Don’t only look at download speed. Streaming relies heavily on upload performance and stability.
If your connection struggles at the resolution and bitrate you’re using, lowering the stream settings can produce a better viewer experience than trying to force maximum quality through an unstable connection.
Your streaming software matters here too. Our webcam model software guide covers broadcasting software and the other tools you may need.
Don’t Put Every Piece of Equipment in the Frame
A ring light, microphone, second monitor and camera arm may all be necessary.
That doesn’t mean viewers need to see them.
Look at your preview and adjust the setup so equipment stays outside the frame where practical.
This makes the room feel more natural and gives you more usable space on-screen.
There are exceptions. A microphone might intentionally be part of your presentation, particularly for conversational or ASMR-style content.
The point isn’t to hide equipment at all costs.
It’s to make sure anything visible is visible because you want it there.
Create a Setup You Can Reset Quickly
One overlooked part of cam room design is what happens when you’re not streaming.
Not everyone has a dedicated studio.
Your bedroom may still need to be a bedroom. Your desk may still need to be used for other work.
If that’s your situation, make the cam setup easy to assemble and reset.
Mark tripod positions if necessary. Keep streaming equipment together. Save your lighting settings. Use mounts that don’t require you to rebuild everything every time.
The more effort it takes to prepare your room, the easier it becomes to procrastinate before going live.
A good setup should reduce friction.
Do a Test Recording Before Your First Show
Don’t discover problems while viewers are already watching.
Record five or ten minutes locally.
Move around as you normally would. Talk at your normal volume. Sit in different positions. Turn your lights on exactly as they’ll be during a stream.
Then watch the recording.
Check the image, sound, framing and background.
You may immediately notice things you missed while setting up the room. Perhaps the main light is reflected in a mirror. Maybe your microphone is picking up a fan. Maybe half your head disappears from the frame when you lean back.
Fix those things before going live.
A test recording is one of the cheapest upgrades you can make.
Your Cam Room Doesn’t Need to Be Finished
Don’t fall into the trap of thinking you need the perfect setup before you can stream.
Start with the essentials:
A reliable computer and internet connection, a decent webcam, usable lighting, clear audio and a clean background.
That’s enough.
Once you’ve actually streamed from the room, you’ll quickly discover what needs improvement.
Maybe you need another light.
Maybe you need more storage.
Maybe your chair is uncomfortable.
Maybe your camera needs a different mount.
Upgrade based on problems you actually experience rather than buying everything that appears on somebody else’s equipment list.
What Should You Upgrade First?
If you already have a functional setup, prioritize upgrades by how much they improve the viewer experience.
I’d generally look at them in this order:
- Internet stability
- Lighting
- Audio
- Camera
- Comfort and furniture
- Background and decoration
That order won’t be identical for everyone.
If your webcam is ancient but your lighting is already excellent, the camera may obviously move higher.
The principle is to fix the weakest part of your setup first.
A $300 camera doesn’t compensate for terrible lighting, and a beautiful neon sign doesn’t compensate for audio nobody can understand.
Make the Space Comfortable for You Too
Your viewers only see what’s inside the frame.
You have to live on the other side of it.
Keep water nearby. Control the room temperature. Use a chair, mattress or cushions that remain comfortable during longer sessions. Take breaks rather than forcing yourself to stay in one position for hours.
You can also use music, softer ambient lighting outside the camera frame or a scent you enjoy to make the room feel more comfortable.
That’s where things such as candles or essential oil diffusers can fit in, if you like them.
They’re for your atmosphere, though.
Your viewers can’t smell the lavender through a webcam.
Final Thoughts
A good camming space isn’t defined by how much money you’ve spent on it.
It works because the camera angle, lighting, sound, background and equipment all support the show rather than getting in the way.
Start with a clean frame and a comfortable place to work. Position your camera, improve the lighting, test your audio and remove anything that could compromise your privacy. Keep the equipment and supplies you regularly use nearby, and make the setup easy to reproduce from one stream to the next.
Then stop redesigning the room and actually use it.
After a few streams, you’ll have much better information about what needs upgrading than you could ever get from staring at another creator’s studio on Instagram.
The best cam room isn’t the one with the most equipment.
It’s the one that lets you turn on the camera and concentrate on your show.